Wall mounted first aid station placement often looks simple until real injuries happen. Correct mounting, smart locations, and clear signage decide how fast someone gets care. According to the US Bureau of Labor Statistics, private employers record millions of nonfatal cases every year, with an incidence rate near three per one hundred workers US Bureau of Labor Statistics. In this guide, you get a practical, step by step view of US workplaces. You see how OSHA and ANSI rules shape your choices, plus real layout tips. First Aid Longs also shows how its Type I wall cabinets and refill programs support long term safety plans.
Why A Wall Mounted First Aid Station Matters For Compliance And Safety

A wall mounted first aid station gives you a fixed, visible point for emergency supplies instead of random kits in drawers. That visible cabinet supports OSHA rules on ready access and reduces confusion during tense moments.
OSHA requires that adequate medical supplies be available when outside care is not close by, and research on first aid kit installation at a University demonstrates how structured implementation programs improve workplace readiness. The main rule for general industry is 29 CFR 1910.151, which calls for first aid materials that are easy to reach for all staff. Portable kits alone often drift, disappear, or sit in locked offices. A cabinet on the wall shows inspectors and staff that help is close and consistent.
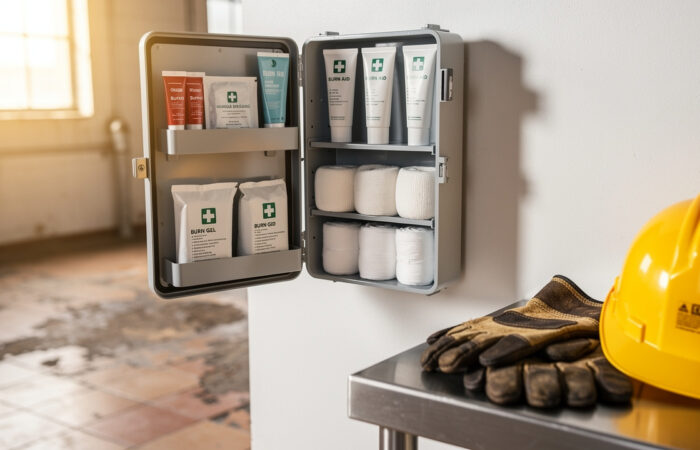
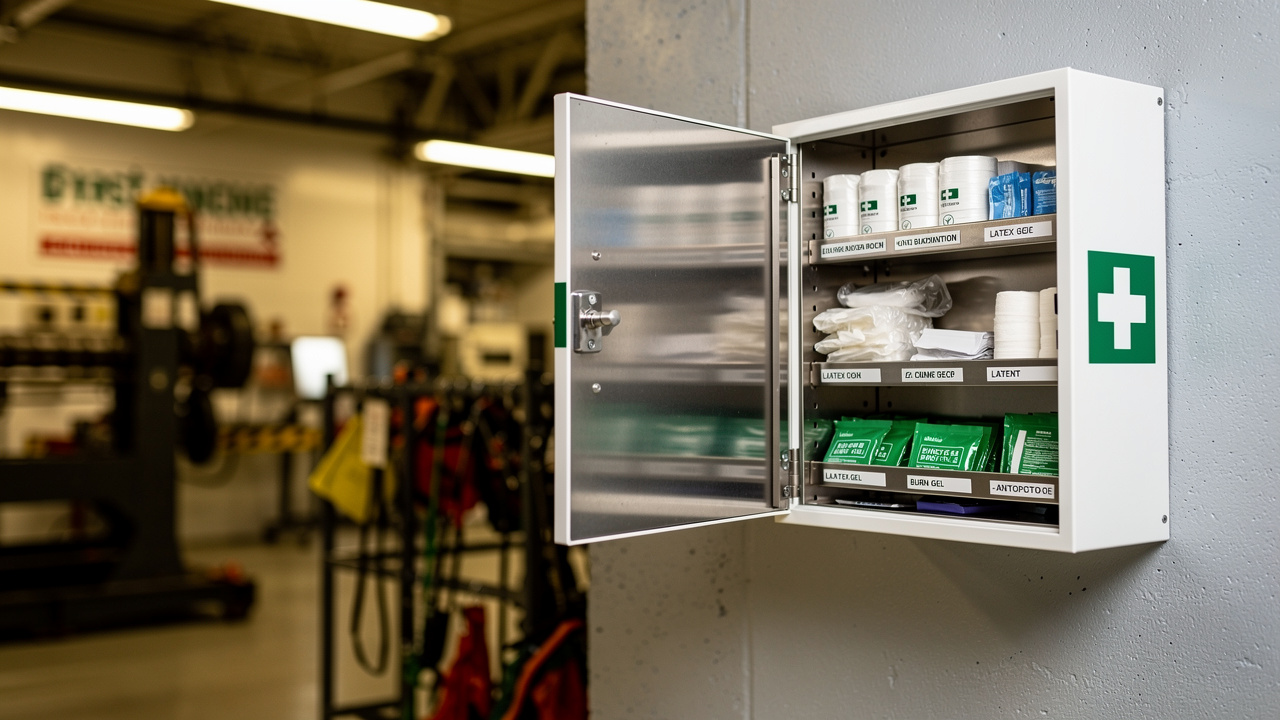
Fixed cabinets also make daily work smoother. People remember one clear spot instead of hunting for bags or drawers. The door labels guide even a stressed coworker to bandages, burn gel, or eyewash. In many plants and clinics, cabinets also sit near AED units, eyewash stations, and spill kits, which creates one clear rescue zone.
How OSHA And ANSI Standards Guide Your Station Choice
OSHA points to ANSI Z308.1 as a helpful guide for first aid kit contents, so you can use that line when you choose cabinets. ANSI Class A kits fit offices, schools, and low hazard zones where minor cuts, scrapes, and small burns are common. ANSI Class B kits fit higher hazard sites such as production floors, big warehouses, and construction zones.
When you pick a wall mounted cabinet marked Class A or Class B, you show that your stock meets a known public standard. You can then adjust contents slightly based on your hazard review, for example, by adding extra burn dressings in a large kitchen. High risk sectors such as manufacturing, construction, and some healthcare support areas usually lean toward larger Class B cabinets, often with three or four shelves. Wall mounting these cabinets in open, well signed spots makes it easier to show that first aid is both adequate and easy to reach.
How To Choose The Right Wall Mounted First Aid Station For Your Facility
Choosing the right wall mounted first aid station starts with risk level, headcount, and layout, not catalog photos. When you match those three points early, you avoid buying cabinets that are too small, too sparse, or too complex.
Begin with your risk profile. Offices, call centers, and classroom wings usually see minor cuts and headaches. Production lines, machine shops, and maintenance shops face lacerations, crush risks, or chemical splashes. Job sites and loading docks often sit somewhere in the middle. When you write a short list of likely injuries for each zone, your kit type falls into place much faster.
Next, match the ANSI class and person coverage to each zone. A 25 person Class A cabinet may work for a small office, while a 100 person Class B cabinet fits a large, busy line. Sprawling campuses often need several 50 person cabinets on each floor instead of one giant unit near the lobby. The National Safety Council notes that preventable work injuries cost US employers hundreds of billions of dollars every year. Spending a bit more on the right cabinet mix is cheap insurance when you look at those numbers.
Matching Station Size, Contents, And Location Strategy
Once you know risk and headcount, you can pair cabinet types with common workplace groups. The table below gives a simple starting point you can adapt during your own hazard review.
| Workplace Type | Recommended ANSI Class | Typical Person Coverage | Suggested First Aid Longs Station Type |
|---|---|---|---|
| Small office or clinic admin area | Class A | 25 to 50 people | Type I small wall cabinet with basic wound care and meds if allowed |
| Large open office or school wing | Class A | 50 to 100 people | Medium metal wall cabinet with clear labels and bilingual print |
| Manufacturing line or warehouse zone | Class B | 75 to 150 people | Three shelf steel cabinet with trauma pads, eye care, and gloves |
| Hospital support area or lab | Class B | 50 to 100 people | Corrosion resistant cabinet near eyewash and spill response gear |
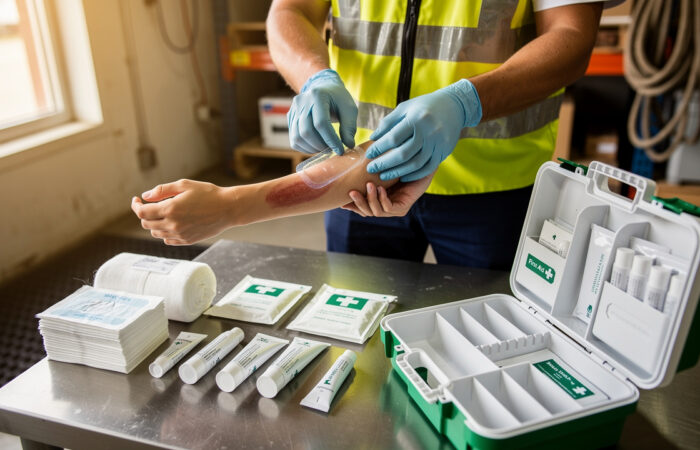
| Restaurant kitchen or food plant | Class A or B plus burn focus | 25 to 75 people | Stainless wall cabinet with burn dressings and blue bandages |
Many sites work better with several smaller cabinets spread across floors than one large cabinet in a hallway. That spread keeps walking time within the three to four minute goal for most staff. First Aid Longs can also supply special builds for construction trailers, laboratories, and food service so every cabinet lines up with real tasks.
Where To Install a Wall Mounted First Aid Station In Your Building

Picking the right wall for each wall mounted first aid station matters as much as cabinet size. Good placement cuts response time, keeps access clear, and shows inspectors that first aid is taken seriously.
A simple rule many safety teams use is that any worker should reach a cabinet within three to four minutes at a normal walking pace. Start by sketching each floor and marking work groups such as offices, labs, and production cells. Add icons where injuries are most likely to happen, like docks, stairs, machine clusters, or cafeterias. Place cabinets near those icons while still keeping them in open hallways, break areas, or near supervised desks.
At least one cabinet on every floor is the bare minimum for most buildings. Long hallways, split wings, and locked interior rooms may each need their own cabinet. Try to avoid placing cabinets inside offices that may be locked or rarely staffed after hours. Instead, pick corridors, open workrooms, or near time clocks where staff pass often.
Placement, Height, Signage, And Accessibility Best Practices

You can turn placement rules into a short checklist that works for every new site. Think about visibility first, then distance, then clear space in front of the doors. Add signage that guides people even when they do not know the building well.
| Factor | Recommendation | Reason |
|---|---|---|
| Height | Mount the cabinet center roughly 60 to 80 inches from the floor | High enough to see over racks, still easy to reach |
| Distance | Keep walking time within about three to four minutes from any work area | Faster access to bandages, eyewash, and burn care during events |
| Clearance | Maintain a 3 foot clear zone in front of doors | Prevents parked carts or pallets from blocking cabinet doors |
| Signage | Use bright green and white first aid signs above and along travel paths | Helps visitors and new staff find supplies under stress |
| Co located equipment | Group cabinets near AED units, eyewash stations, or spill kits | Creates simple rescue hubs that staff remember and mention in training |
How To Install A Wall Mounted First Aid Station Step By Step

Safe mounting turns a good product choice into a reliable wall mounted first aid station. A simple repeatable method helps your maintenance or safety team install many cabinets without guesswork.
Start by confirming the wall type where you plan to mount the cabinet. Drywall over metal or wood studs, concrete block, and brick all need different anchors. Check the cabinet weight when fully stocked, then match screw size and anchor rating to that load. Always follow your company’s lockout and ladder safety rules during work, since falls and being struck by objects remain the leading causes of serious injuries, according to OSHA.
You also want the cabinet level and tight against the wall so doors close cleanly. Use a hand level or laser to line up mounting holes. Once the cabinet hangs solidly, add printed labels and nearby signage before loading any supplies.
Step By Step Mounting And Initial Setup Checklist
You do not need special tools to mount most cabinets, only a short plan. Before you start, gather a drill, bits suited to your wall, anchors, screws, a level, a pencil, and basic PPE such as safety glasses and gloves. Keep the cabinet instructions and mounting template, if supplied, nearby.
- Confirm And Mark The Location. Stand in the likely traffic path and check that the cabinet is visible from common angles. Make sure the spot meets your height, distance, and clearance rules. Lightly mark the top line on the wall with a pencil.
- Locate Structure And Mark Holes. Use a stud finder or tap test on drywall to find studs where possible. For masonry or solid concrete, plan for proper anchors instead. Hold the cabinet or template to the wall, then mark each mounting hole.
- Drill Pilot Holes And Set Anchors. Put on eye protection before drilling. Use the right bit size for your anchors and keep the drill square to the wall. Insert anchors flush with the surface so the screws seat correctly.
- Mount And Level The Cabinet. Lift the cabinet into place with help for larger models. Set one screw loosely, check the level, then set the remaining screws. Once level, snug all screws and confirm the cabinet does not wobble.
- Load And Check Contents. Add shelves or liners if they ship loose, then stock supplies based on your chosen ANSI class and hazard review. Place heavy items low and fragile ones in safer pockets. Close doors and confirm labels match what sits inside.
- Record The Install. Note the station location, height, and date on your inspection log. Take a quick photo for your files. Add this cabinet to your routing for regular inspections and refills.
How To Maintain, Inspect, And Refill Your Wall Mounted First Aid Station

A well mounted wall mounted first aid station still fails you if stock expires, disappears, or gets blocked. Long term care for each station turns a one time project into a steady safety program. Most workplaces do best with a simple two level plan. Set quick visual checks monthly, then deeper audits once or twice a year. High hazard or high use zones, such as busy production lines or student health centers, may need weekly checks.
During each inspection, look at 03 things in order. First, make sure the cabinet is still mounted solidly, easy to reach, and not blocked by furniture or stock. Second, compare contents against your standard checklist, noting items that are low, missing, or out of date. Third, review labels and instructions so they stay readable, clean, and in the right language mix for your staff.
Refill methods can stay simple too, and ergonomic considerations for station design detailed in research on shaping an ergonomic hand disinfection station are equally worth applying when reconfiguring shelf layouts and refill workflows to minimize strain during restocking. Some sites restock item by item, while others use full refill packs that reset cabinets to an ANSI standard in one step. First Aid Longs offers structured first aid kit replenishment programs and component packs that match its cabinet lines.
In Summary
Putting a wall mounted first aid station program in place means more than hanging a single box. You choose the right cabinet mix, map smart locations, mount each unit safely, and keep stock fresh over time. You saw how OSHA and ANSI rules guide cabinet class, contents, and placement. The step by step mounting guide and checklists give your maintenance team a clear playbook for each install.
First Aid Longs supports you at every stage with Type I wall cabinets, clear signage, eyewash units, burn gels, and structured replenishment programs. Work with the First Aid Longs team to design a cabinet and refill plan built around your own hazard review and compliance goals.